Description
Drum Layering Basics is a video tutorial that outlines how to use phase cancellation and nudging to create new drum textures for layering.
Since the advent of samplers beat producers have been able to layer drum sounds in hardware samplers for decades. In fact, this is what gave rise to the legendary Akai MPC 60 and all ensuing incarnations – the ability to layer more than one sound and trigger it via a drum pad. The tools afforded in hardware samplers were pretty basic on those days and with each reissue of a sampler, the feature sets grew to accommodate the sound designers and beat producers’ requirements. Nowadays, we are spoiled with powerful computers and software that make drum layering both easy and fun. Of course, the hardware approach is as popular as it was back in the 1980s but software affords the user huge scope for sound design possibilities. Today, we have a combination of both with hardware samplers acting as the front end and the software editing that comes bundled with the hardware as the backend for editing and processing. Technology has made it easy to create custom sounds within the DAW (digital audio workstation) and then to ‘dump’ the new sound into the hardware sampler.
Layering drum sounds results in what we refer to as a ‘signature’ sound in that beat producers will often have a specific way of processing drum sounds that can then be linked to that producer. We then refer to this as the producer’s signature sound. It’s just a flash way of saying ‘yeah, he made that sound’. However, this has been exhausted to death my marketing folk with sample packs selling that are promoted as ‘Just Blaze samples’ or ‘Neptune samples’.
The traditional way of layering drum sounds in a DAW, and in some hardware samplers, is to use two (or more) audio files, one on top of the other, and to shape and process each audio file in isolation and then to use both together as one sound. In most cases this is all you need to create a great new sound from two or more existing sounds, but what if you want to take it to the next level and create truly professional and unique signature sounds? Well, you need to think a little laterally and incorporate advanced sound design techniques.
Phase Cancellation
Drum Layering Basics video tutorial also highlights a technique I created that uses phase cancellation and sample nudge to create new textures.
I decided a long time ago to create a technique that used sound design principles to layer drum sounds as I felt that there was so much more we could do to create signature sounds than the traditional approach of layering drum sounds one on top of the other. I wrote an article for Sound On Sound magazine called Layers of Complexity explaining this technique in detail.
Basically, it involves importing two drum sounds into the DAW onto two separate channels. One channel is inverted (flipped) and summed with the other channel which results in silence (total phase cancellation). The second sound is then moved along the timeline (nudged) in tiny shifts. This results in partial phase cancellation. We then use dynamic processing on either or both sounds to create a new texture.
To understand what total and partial phase cancellation are please watch this FREE video on the subject:
Total and Partial Phase cancellation
Nudging
Now that we understand what phase cancellation is let me show you how easy it is to use the Nudge Tool in your DAW to nudge one layer against another after inverting one of the sounds. By inverting/flipping and summing we, in effect, cancel the sounds and the process results in silence. This now gives us a clean frequency base to work from. If you use your DAW’s nudge tool and nudge one of the sounds by small amounts you will magically hear the audio change and in real-time
In the Drum Layering Basics video, I explain what phase cancellation is and how we can use it for sound design purposes. I show you how to set up your DAW to allow for this technique and I make sure to explain how to use the nudge tool in the DAW to move the sound files along the project’s timeline. I show you how to use an envelope shaper to shape the sound’s response and end by explaining how to add sizzle to your signature sounds using a distortion plugin.
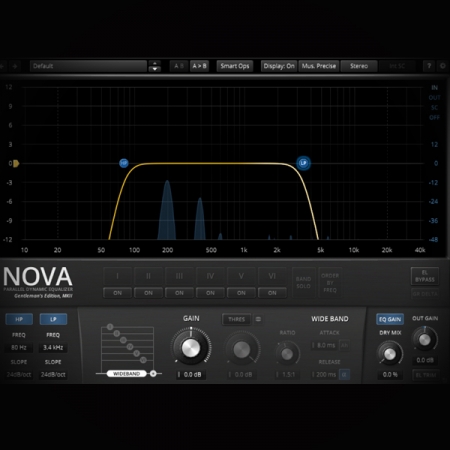
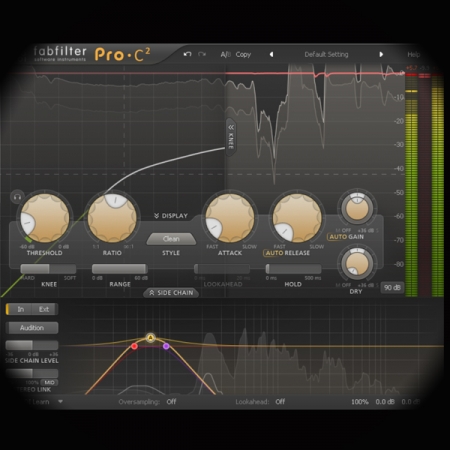
Plugins used in this video:
Topics covered in this video are:
- Envelope Shapers and Generators
- Layering and Nudging in the DAW
- Applying Clipping and Distortion effects
- Using the DAW’s Timeline effectively
- How to layer Drums
- Best Practices
If you enjoyed this tutorial then attack these:
Total and Partial Phase cancellation
Layering drums using middle and side processing
Shaping Drum Sounds for Layering
Layering Snares using a Noise Gate and Pink/White Noise
Layering Snares using a Synthesizer and a Noise Gate
Layering Kicks using a Tone Generator and Noise Gate
Create Epic Drums Sounds using the ‘Flip and Nudge’ Technique


